Getting Started
This guide walks through the SaaS setup process. For instructions on setting up GreenOps on-prem, please reach out here.
Accessing the control plane
Once you have signed up and been provided login credentials, log in to the platform via the admin credentials.
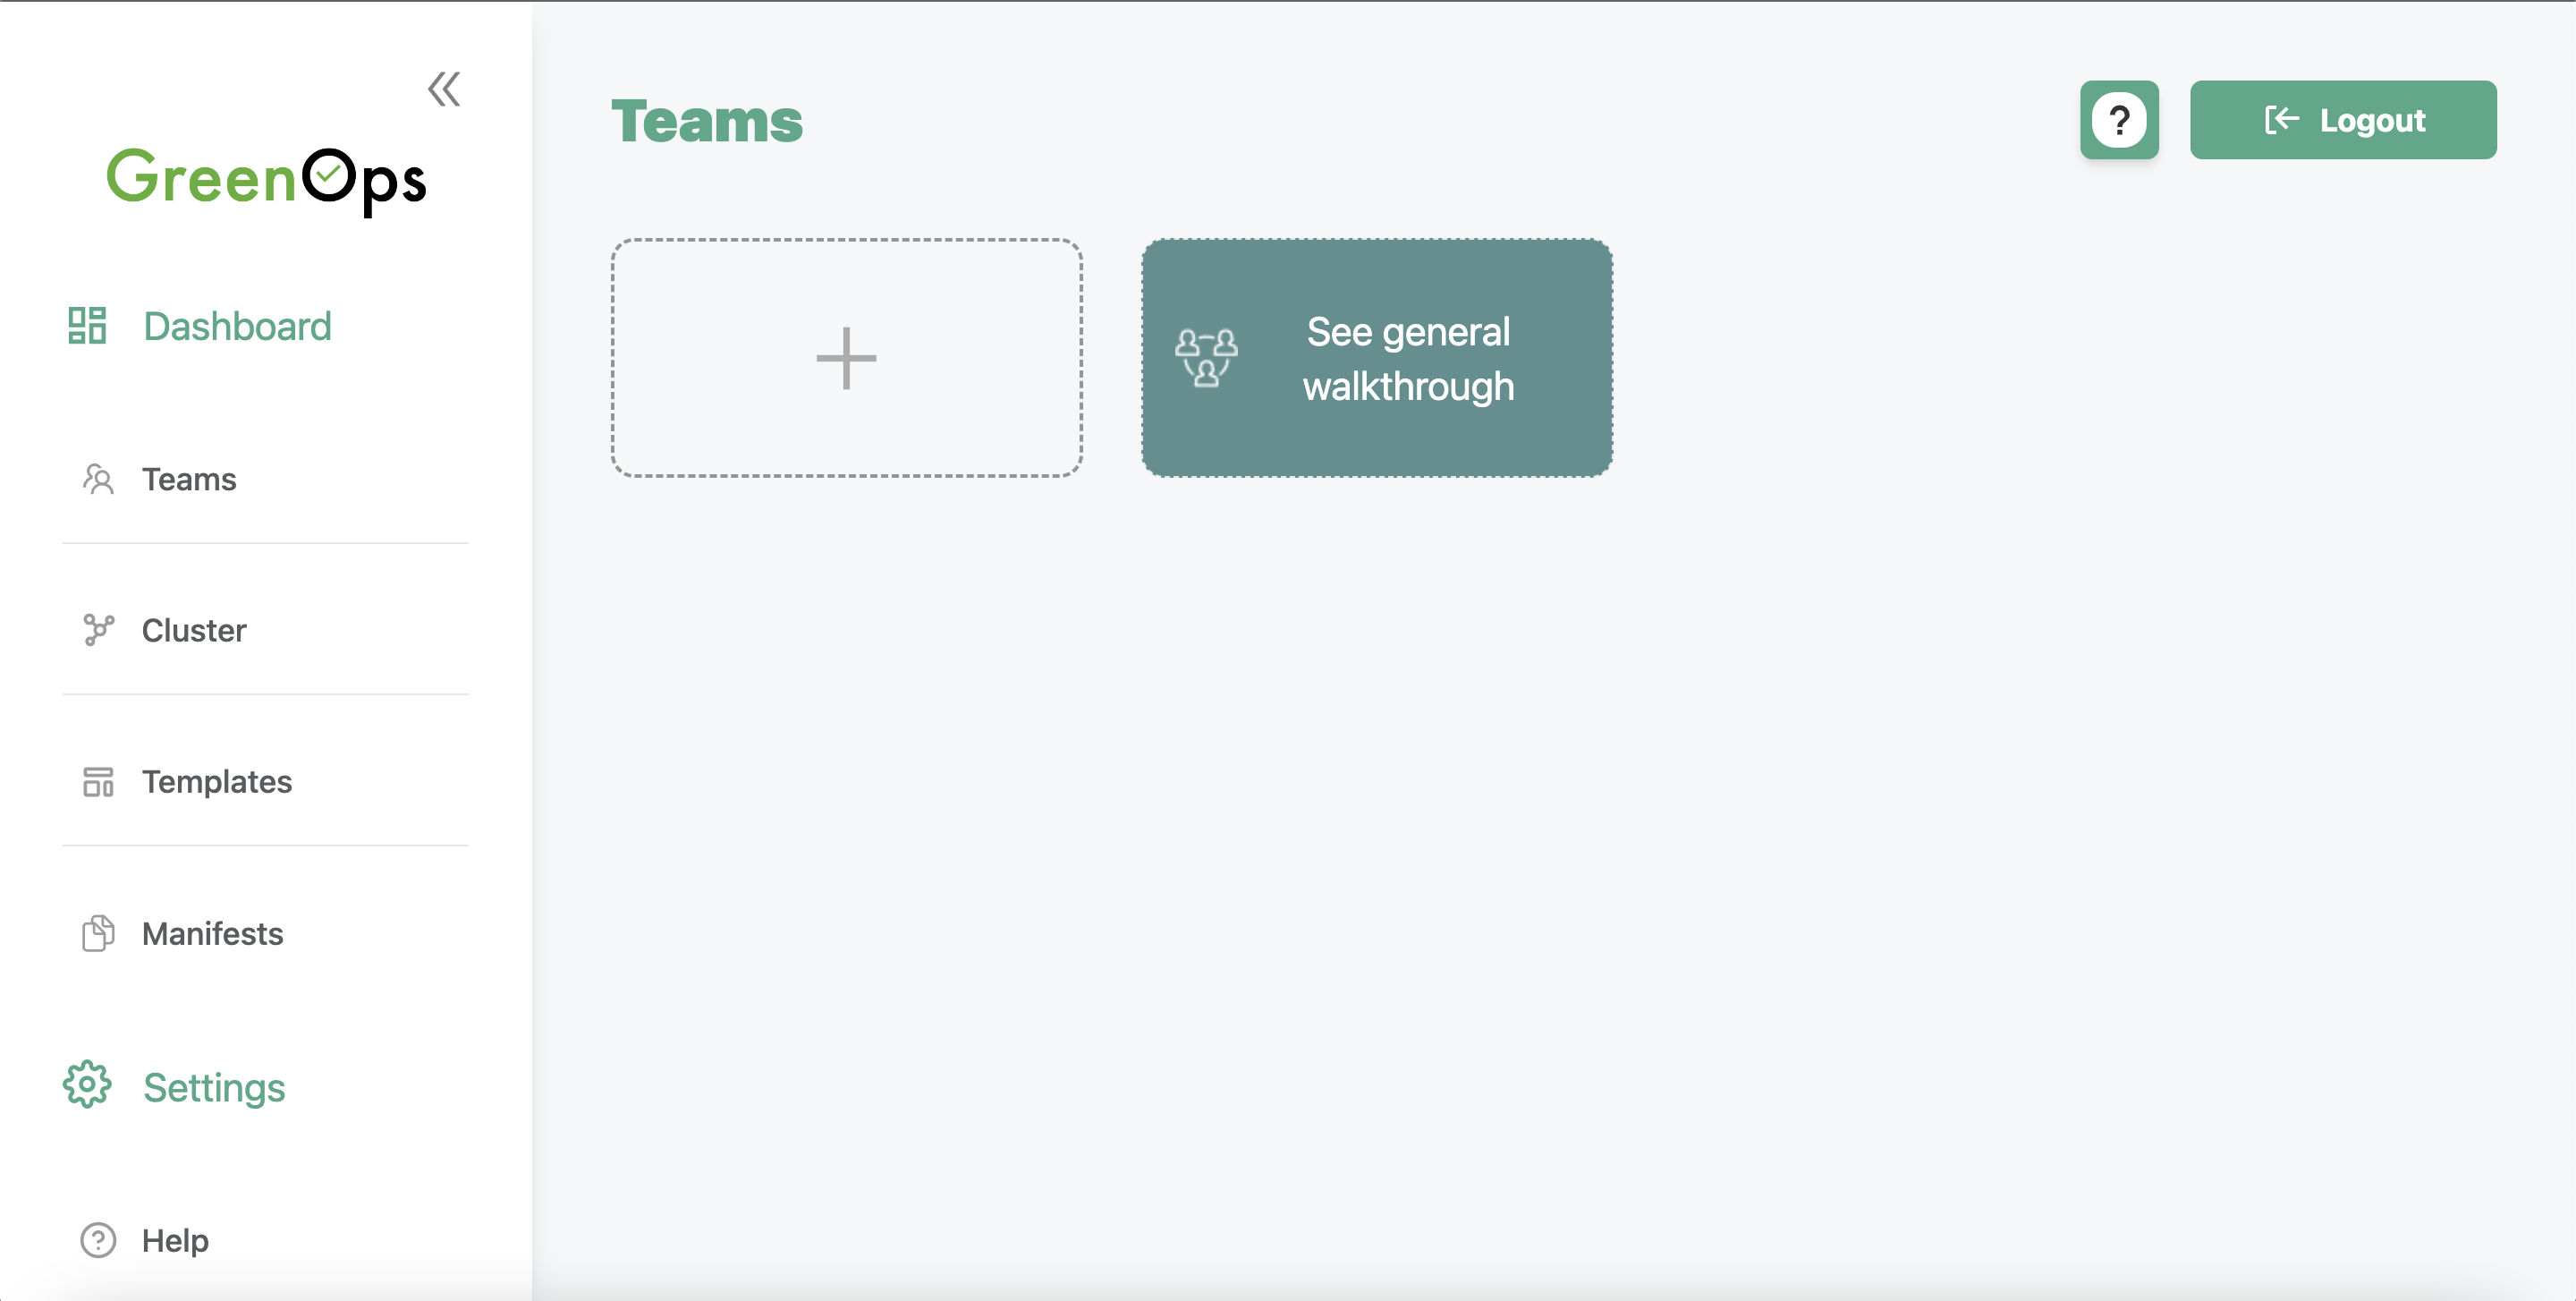
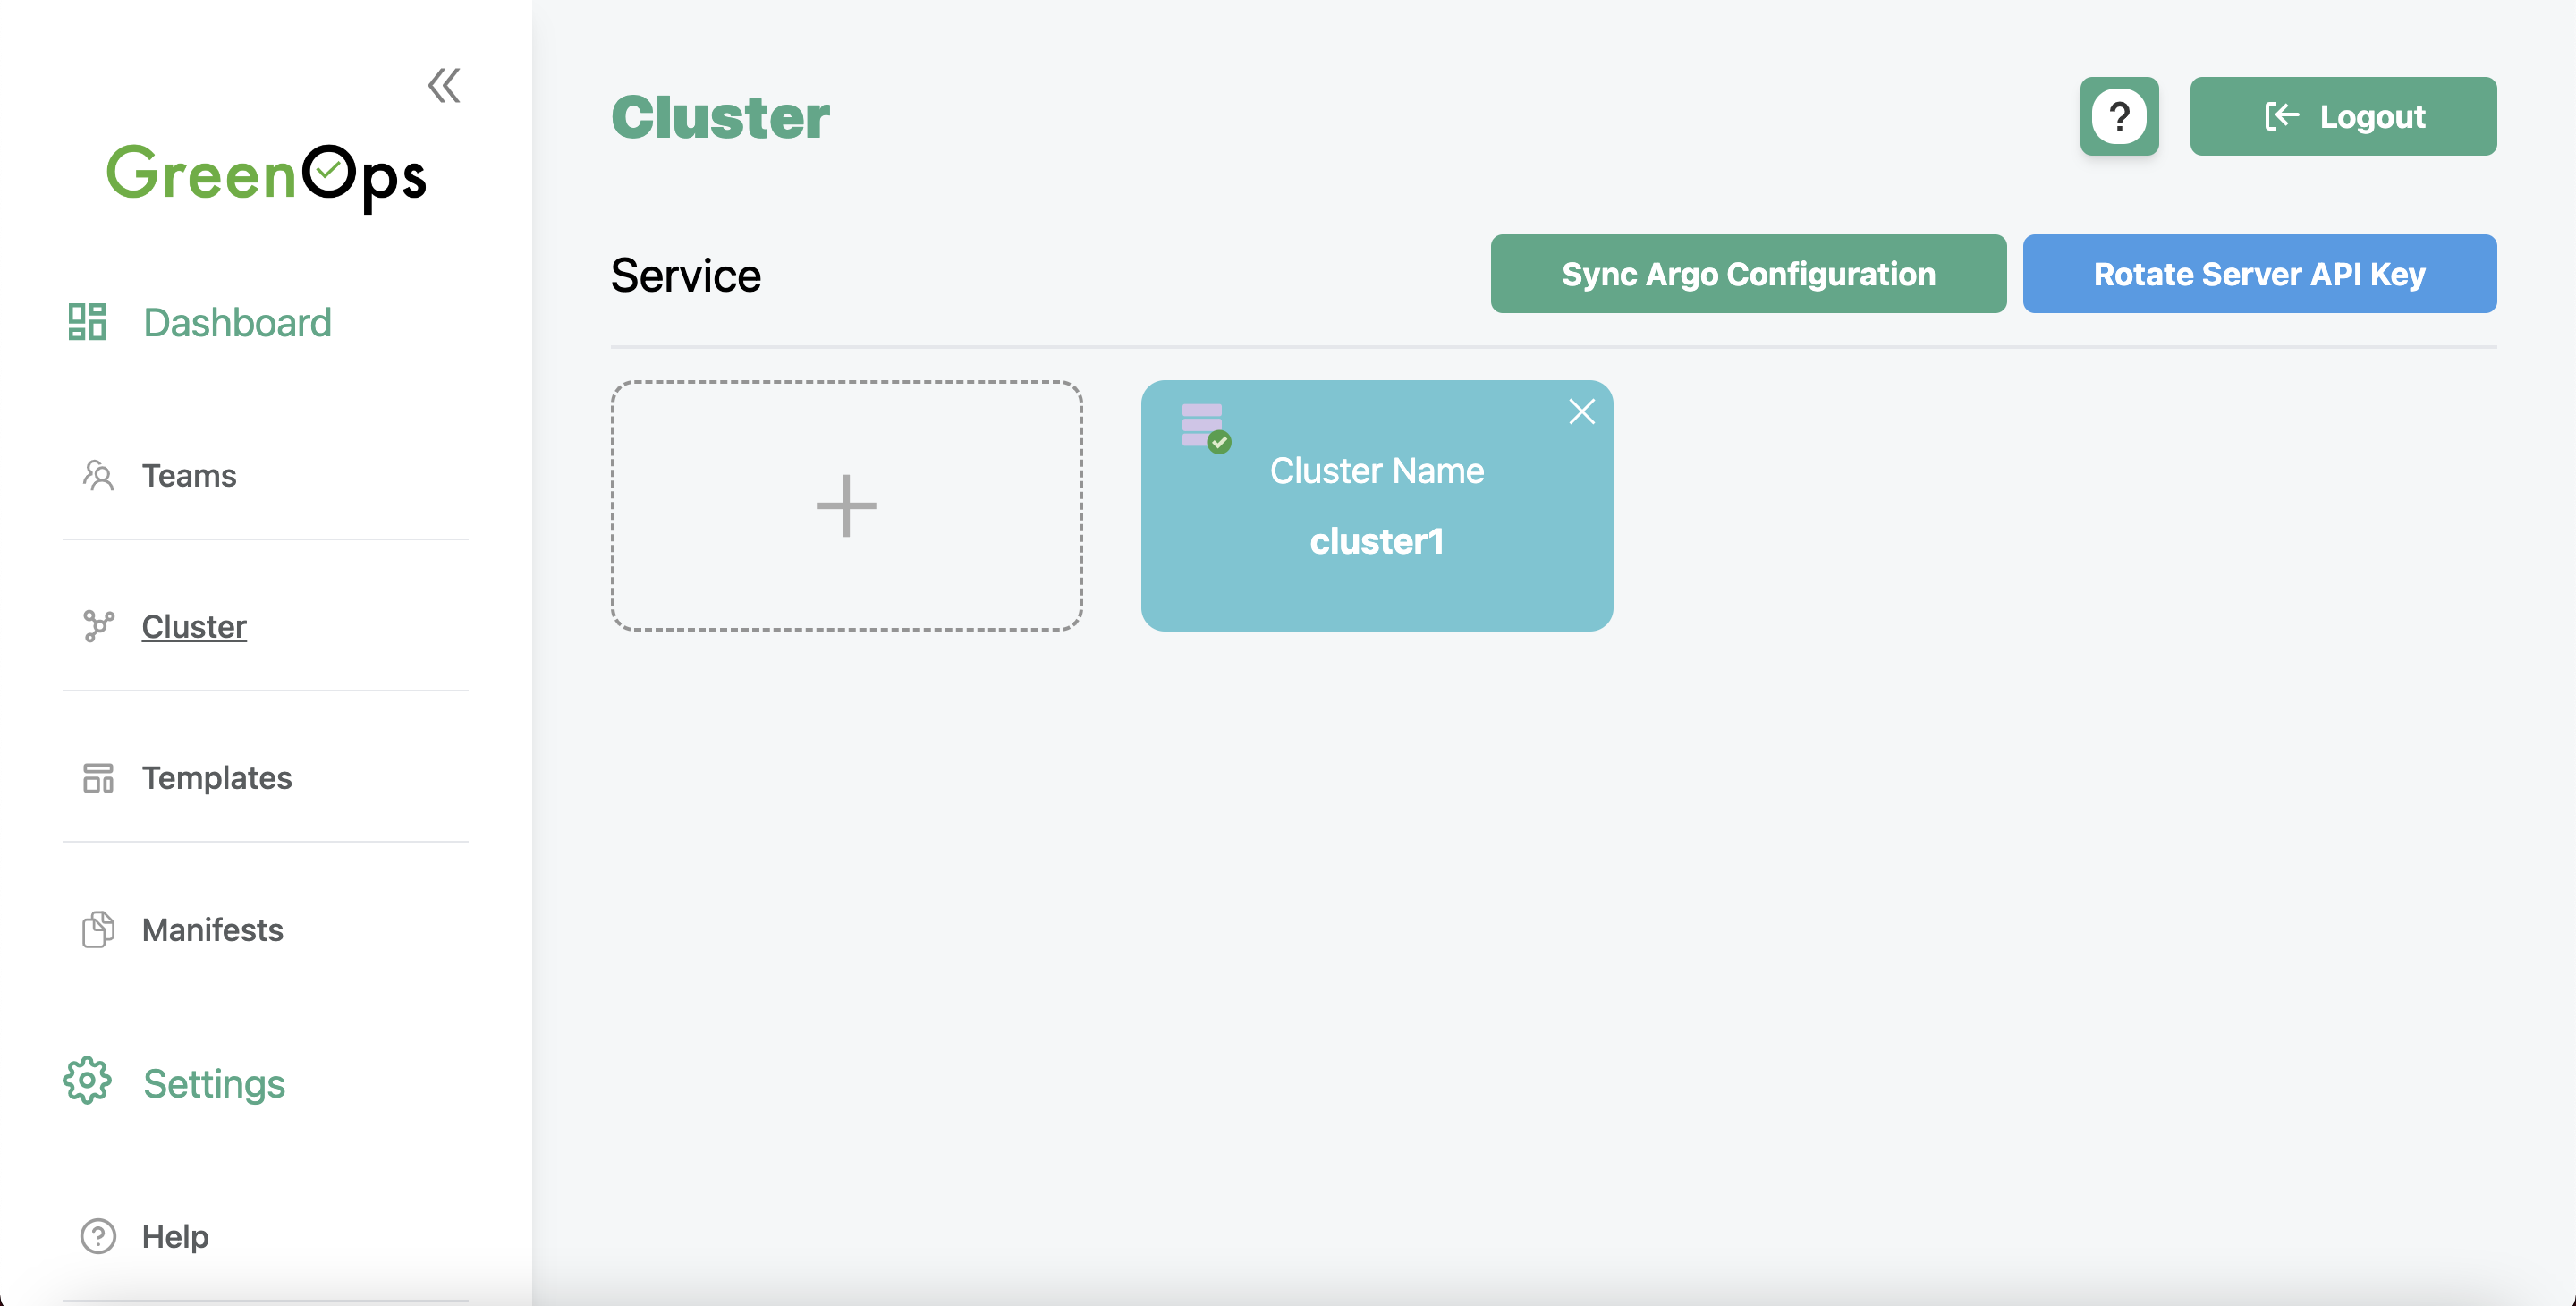
After logging in, you should be able to see this page:
Registering a cluster
GreenOps uses an agent-based system to manage deployments and DevOps workflows in your environments.
Let's navigate to the GreenOps cluster page:
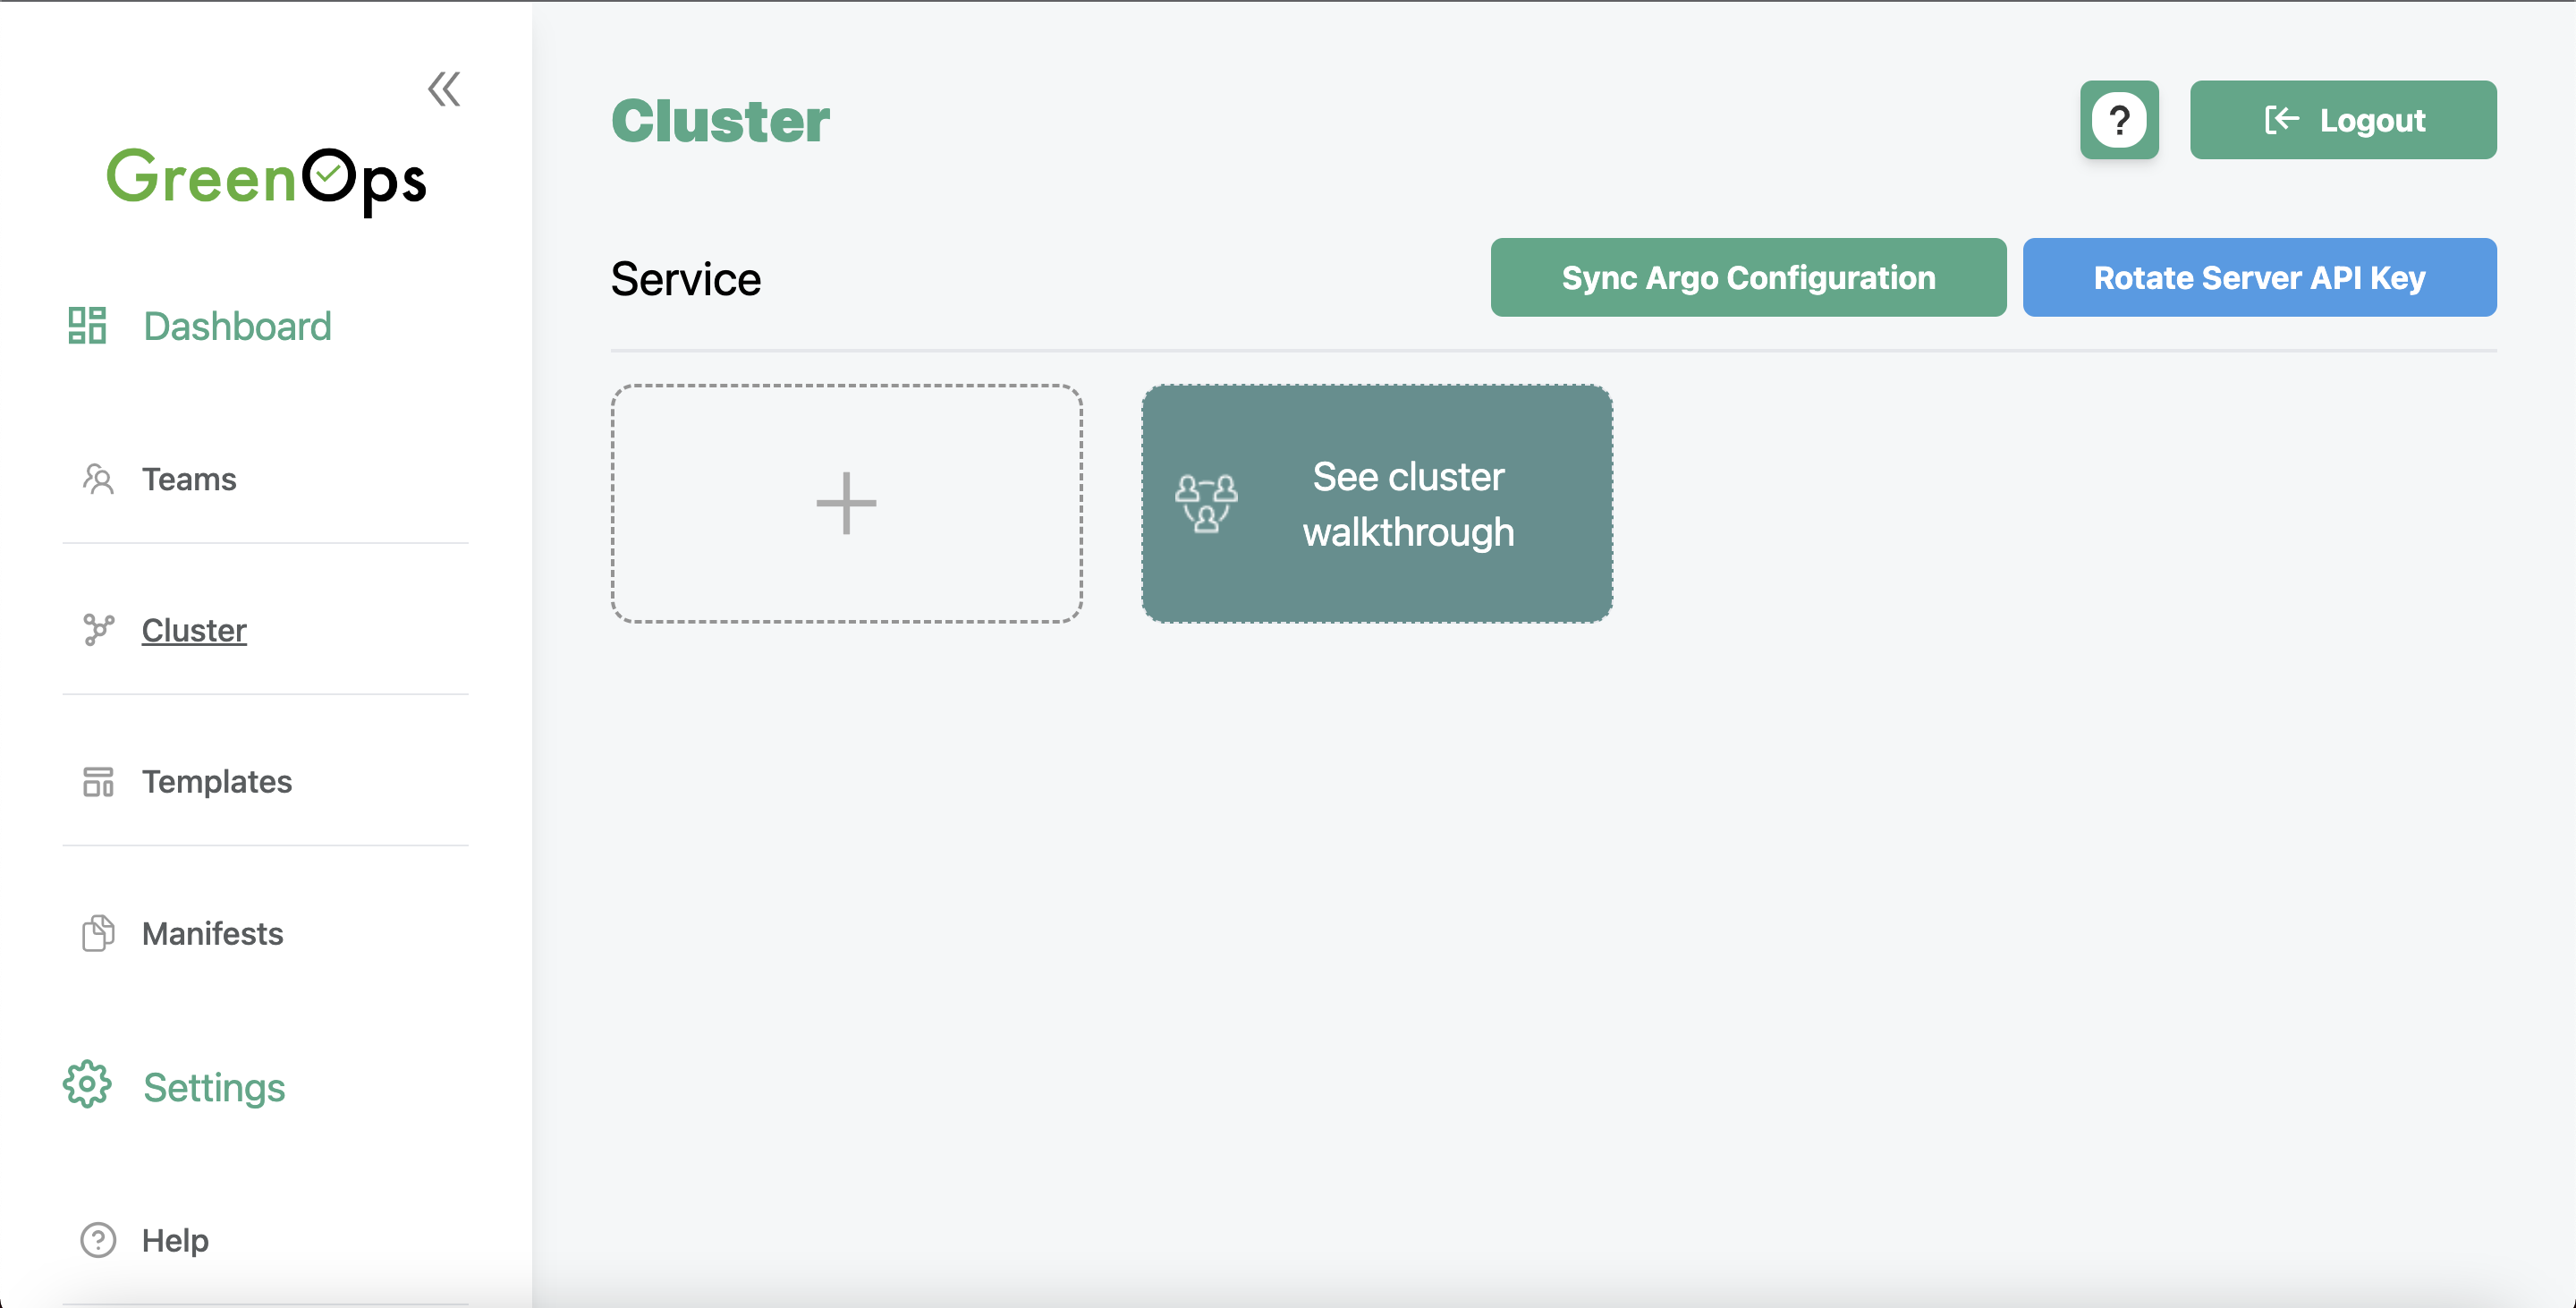
Press the + button and enter the name of the cluster. You should see something like the image below in the Command to install section. Copy the script in the Command to install section to a .sh file, and execute it to install the agent. The script expects the kubectl and helm CLIs to be available.
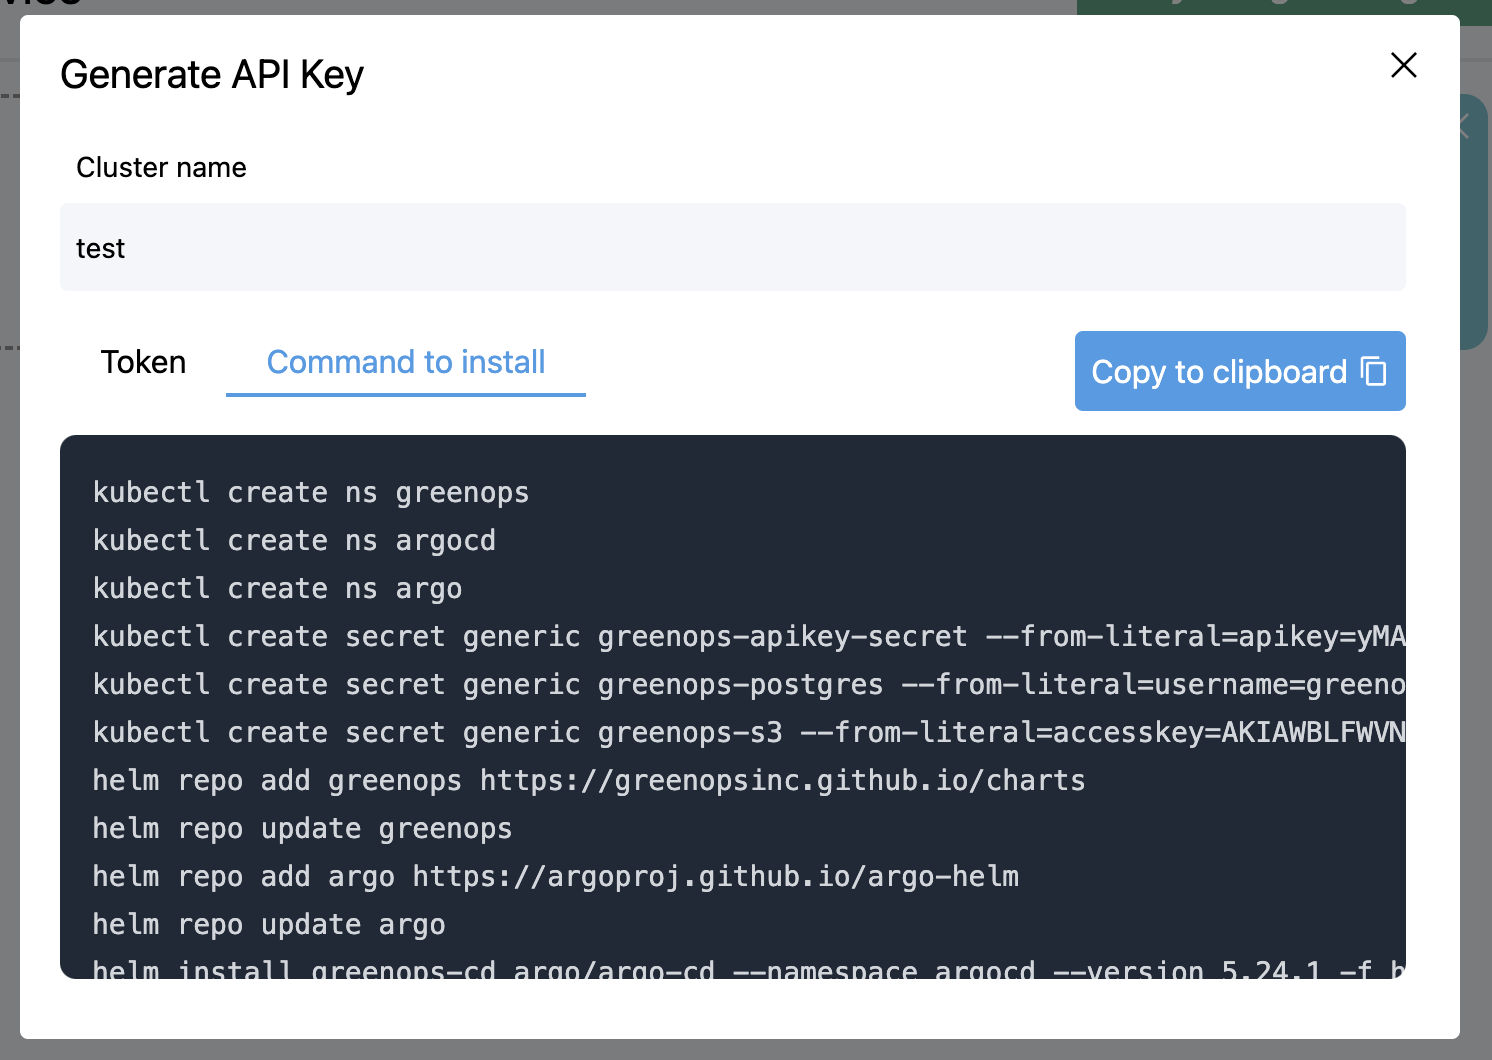
Check if the agent was able to start correctly with kubectl get pod -n greenops.
You should now be able to see a green check mark next to the cluster on the GreenOps UI. It may take up to 30 seconds to register.
Connect a repository
GreenOps will automatically store all templates/workflows in Git repositories (in true GitOps fashion), and use them as a source of truth.
Navigate to the Repositories page via the navigation bar. To connect a repo, press the Create button on the top right corner. Below is an example of connecting a private repo.

Github
When registering private Github repo, generate a personal access tokens from your profile's Settings > Developer Settings window. When connecting the repo to GreenOps, you can use your normal username as the username, and use the generated personal access token as the password.
Bitbucket
Bitbucket offers repository scoped tokens. In the Repository Settings > Access Tokens tab for a repository, generate a new access token. When connecting the repo to GreenOps, use x-token-auth as the username and the generated access token as the password.
Build a template
Templates are isolated steps that could range from scripts to run a Terraform plan + apply, sync an Argo CD application, or wait for a Git PR to be approved. Templates are stacked together like Lego blocks to build pipelines.
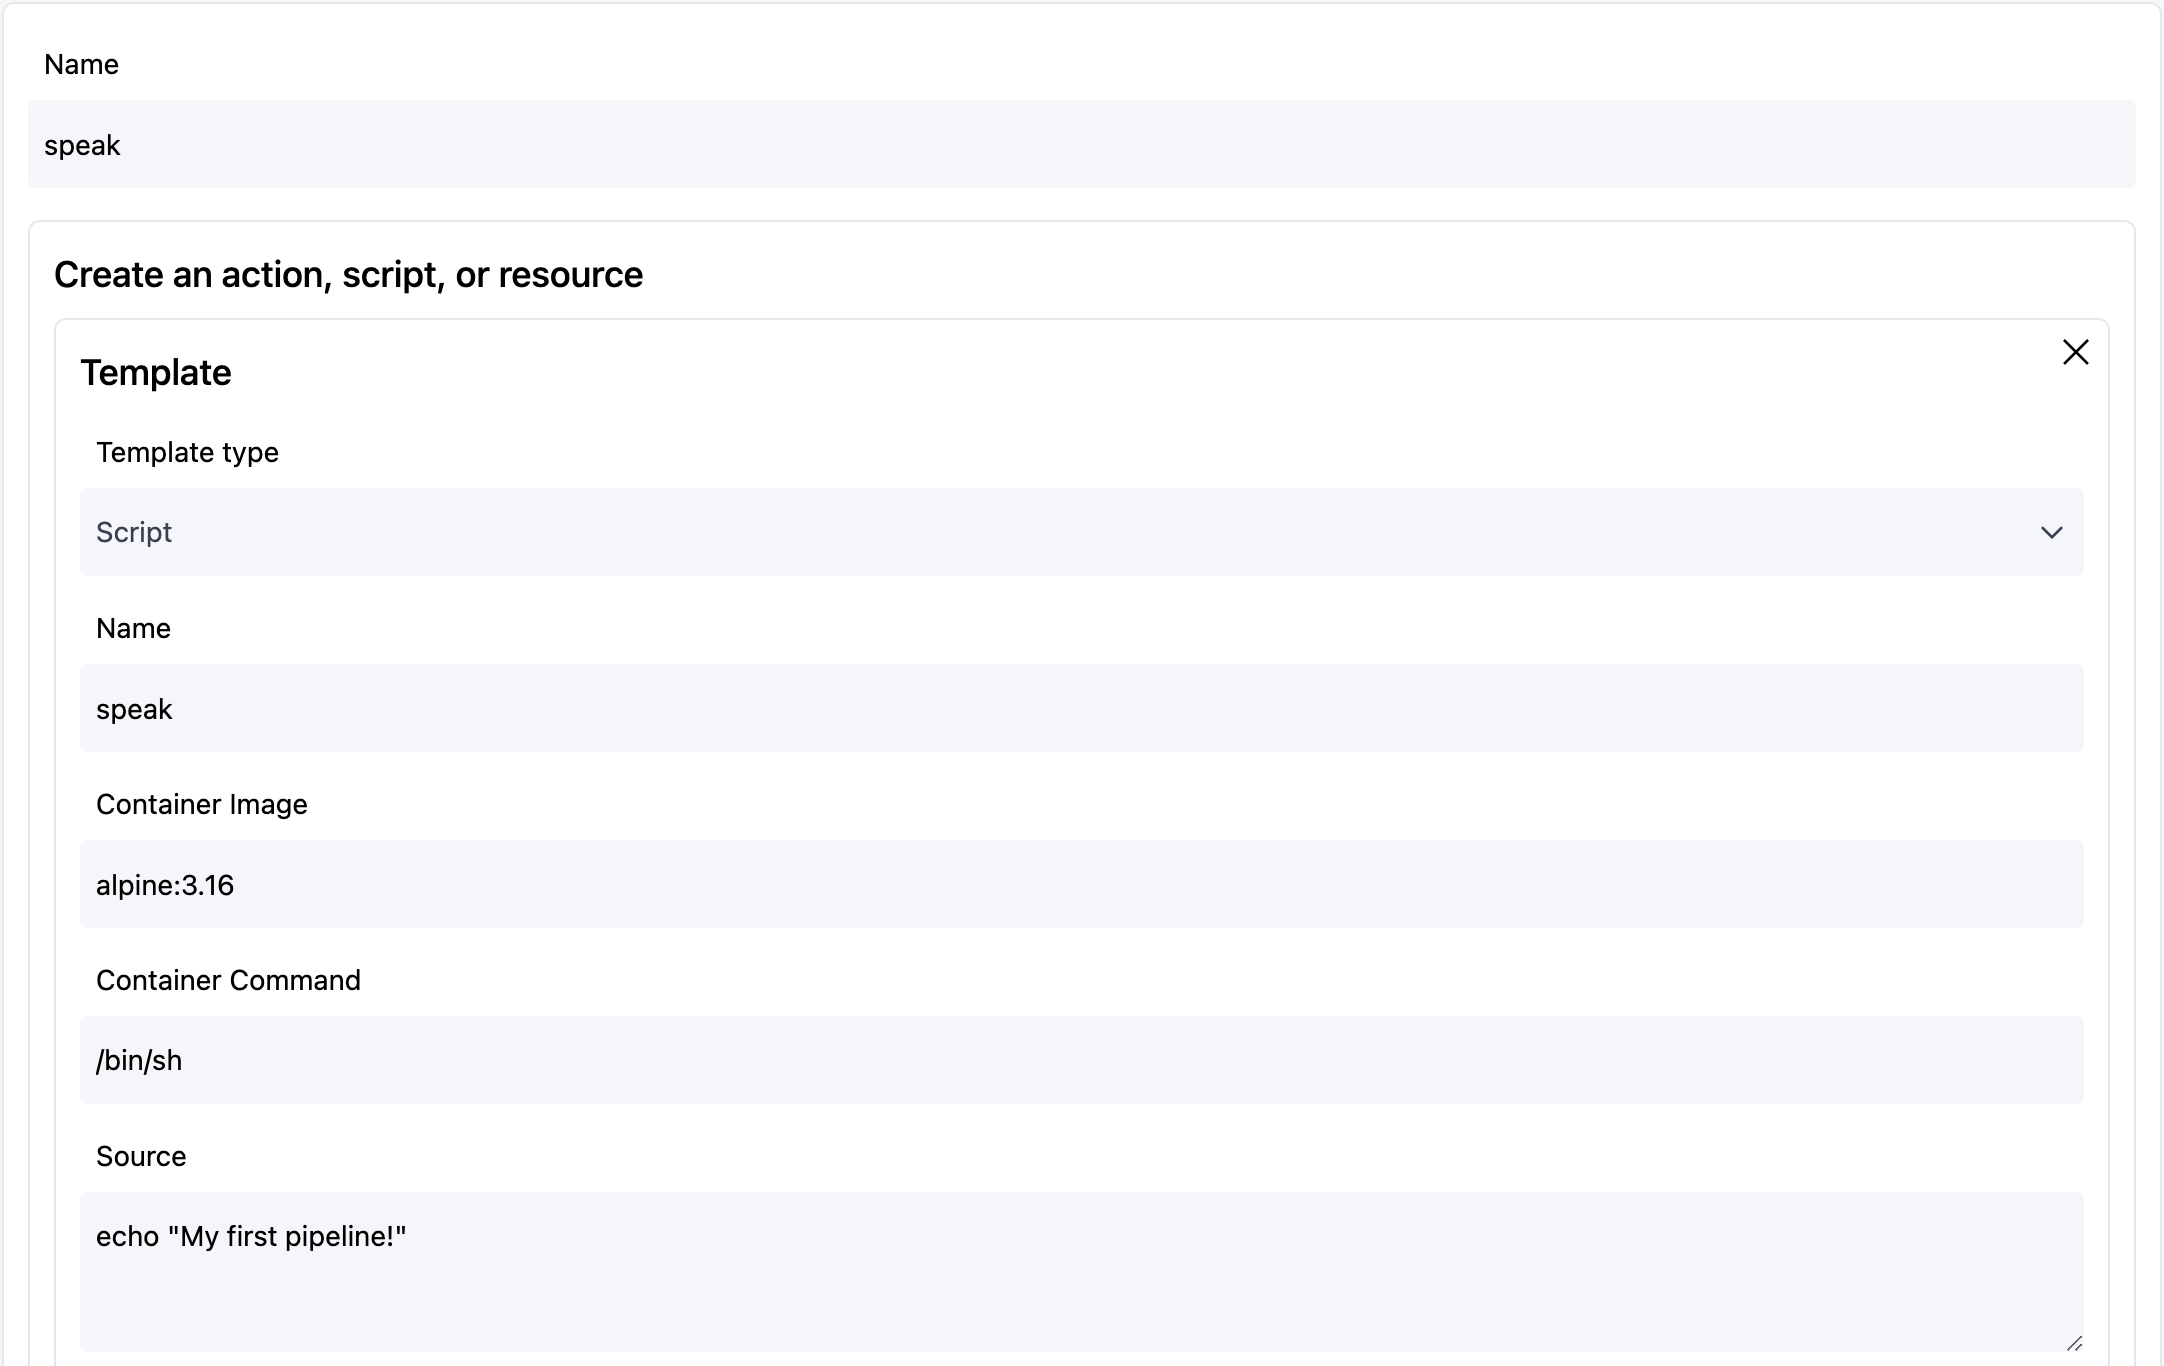
Navigate to the UI builder in the Manifests > Create Template Manifest section. Copy the fields in the image to build your first template, which will print out some text.
Press the Create button on the top right corner and fill out the repository and location you would like to store the template. GreenOps will automatically store and manage the template for you.
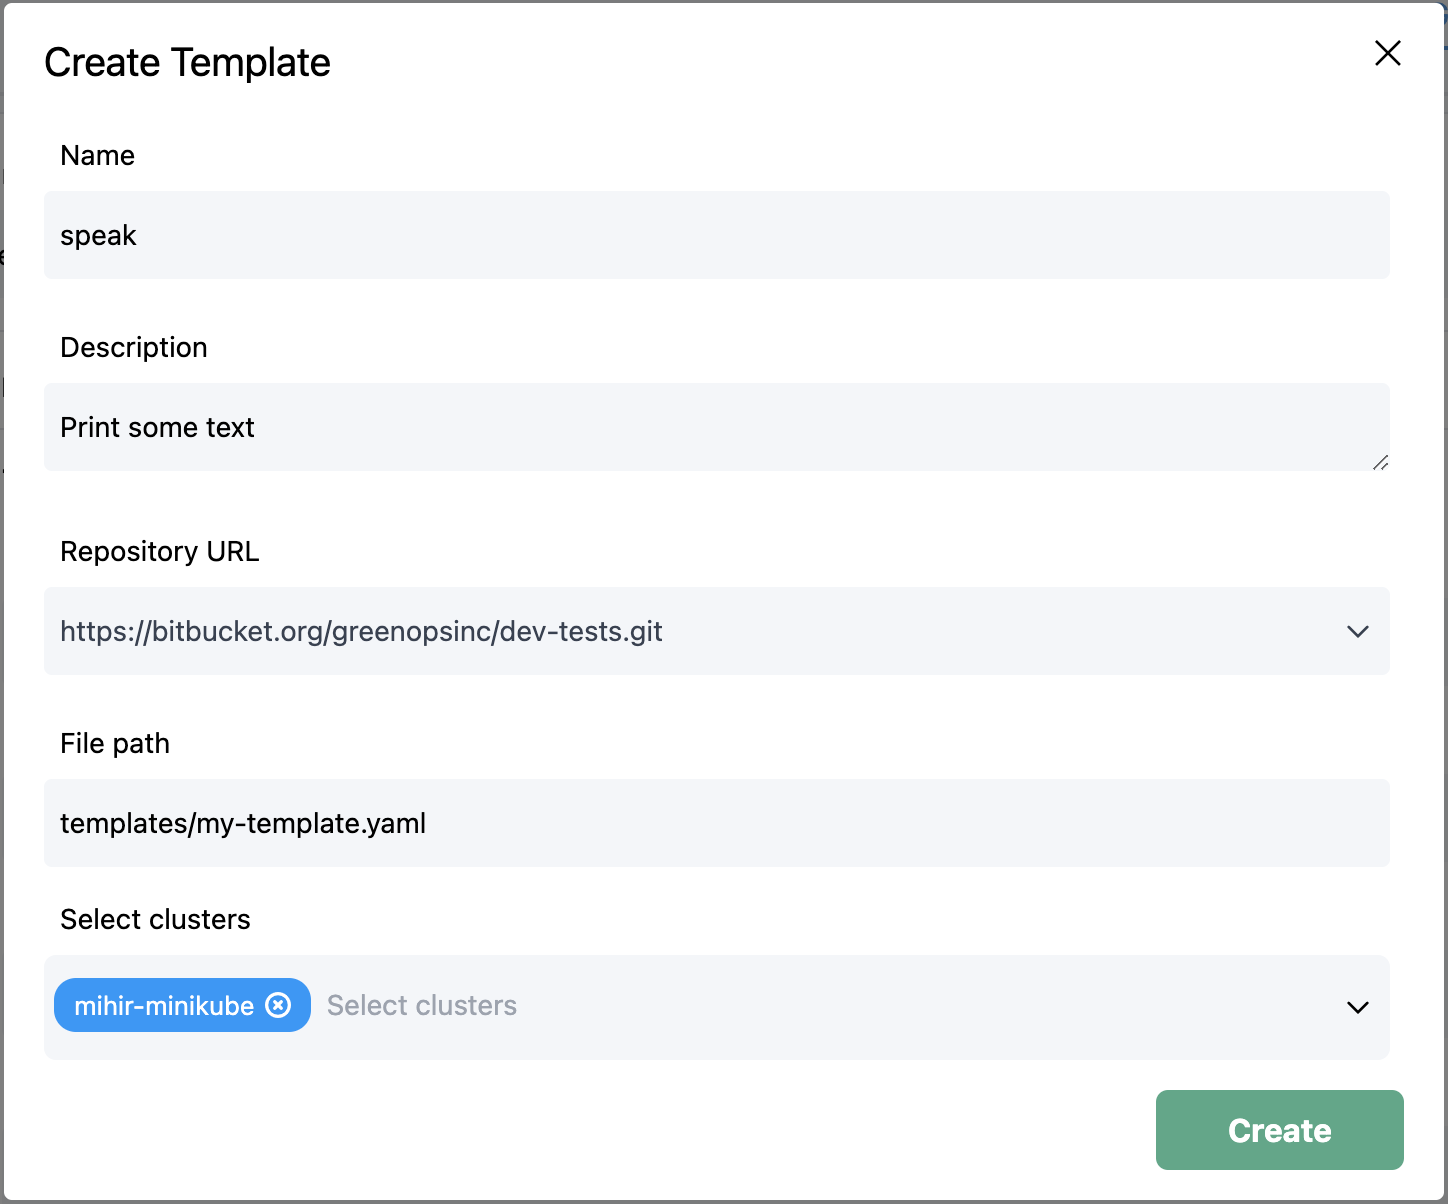
Note: Templates require a file path as the Path to root, like the one in the image above.
Build your first pipeline
We'll use the template that was just build to create a pipeline. Start by navigating to the Teams page and creating a team.
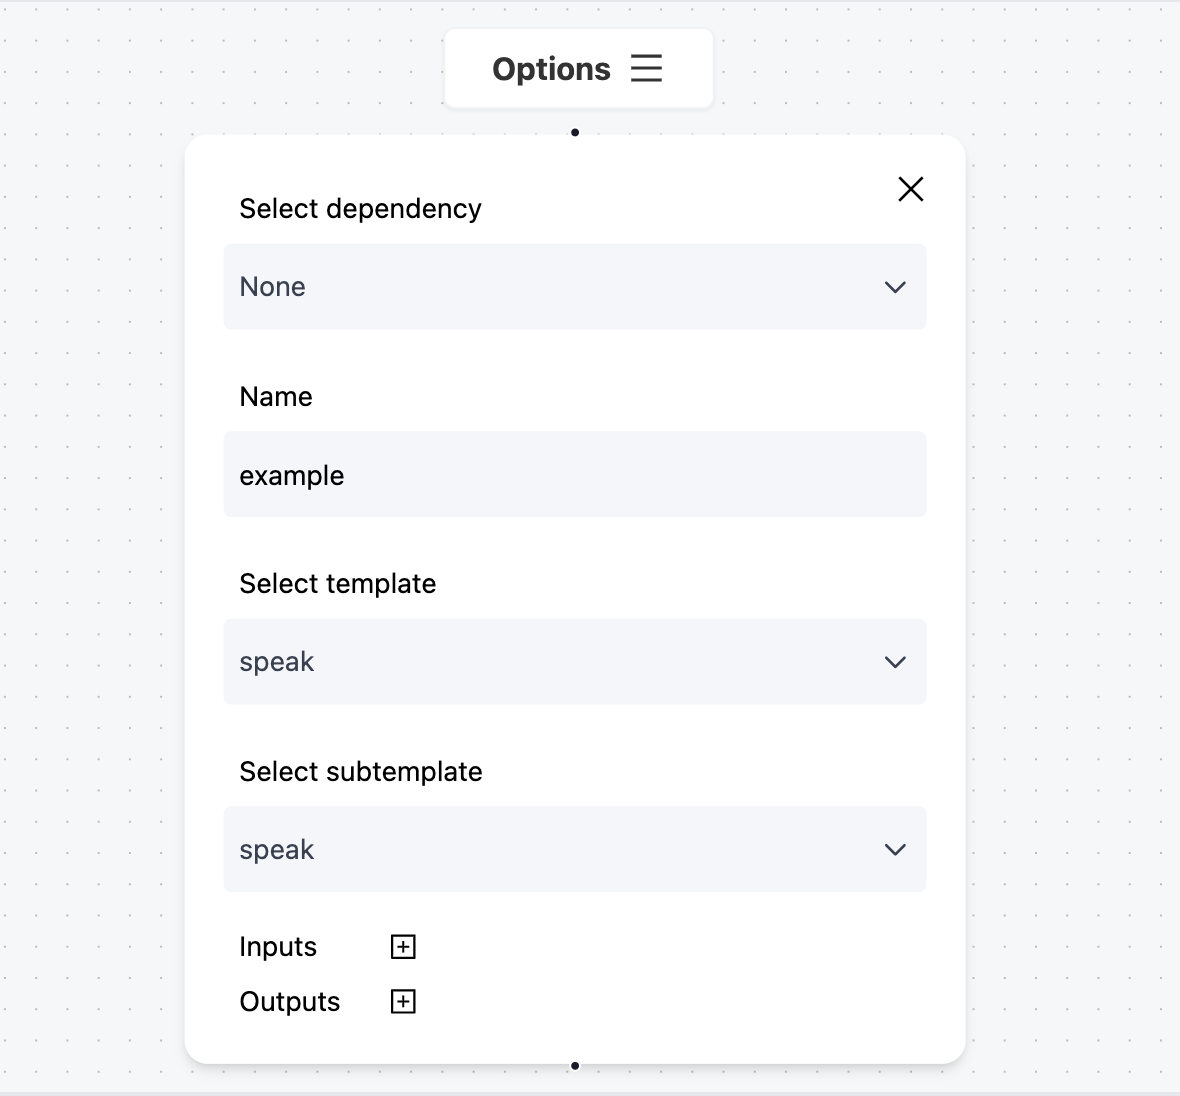
Now, navigate to the UI builder in the Manifests > Create Pipeline Manifest section.
Press the Add Step button and add a step that uses the template that you just made.
Press the Create button on the top right corner and fill out the repository and location you would like to store the pipeline. GreenOps will automatically store and manage the template for you.
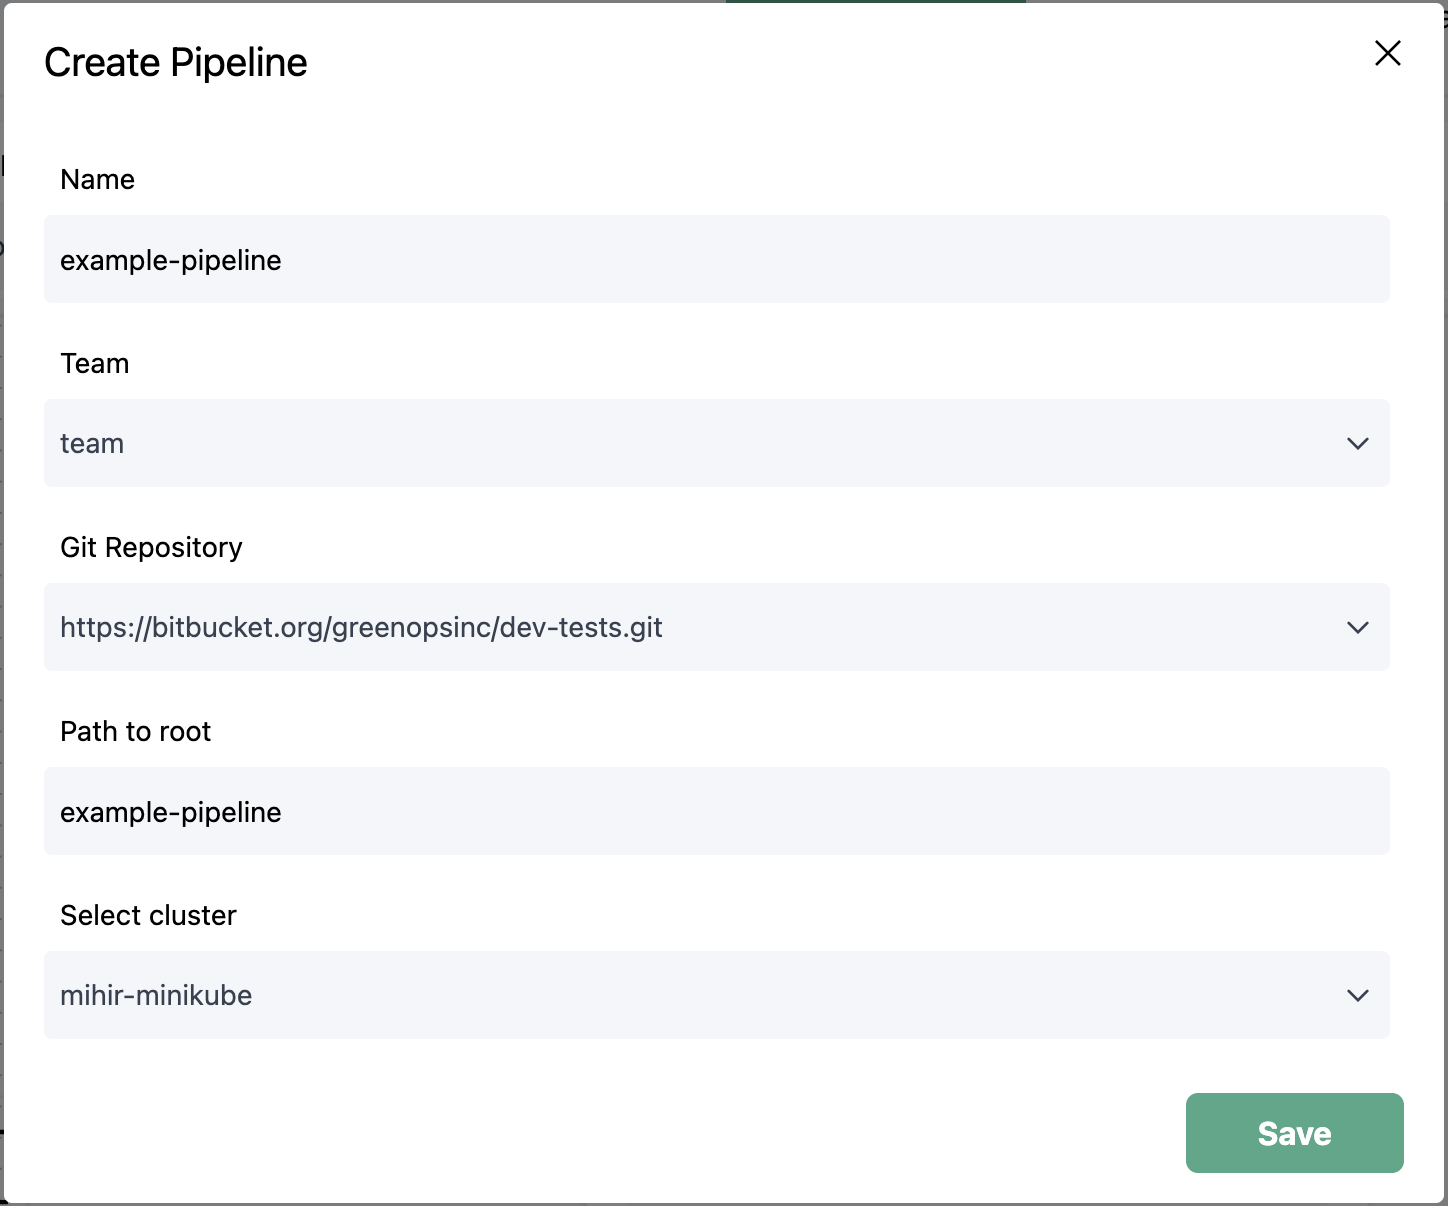
Note: Pipelines require a folder path as the Path to root, like the one in the image above.
Run your first pipeline
Navigate back to the Teams page, and enter the team you just created. You should see a pipeline there. Click the pipeline and press the Run button in the top right corner.
A run should appear on the page, like the example below.
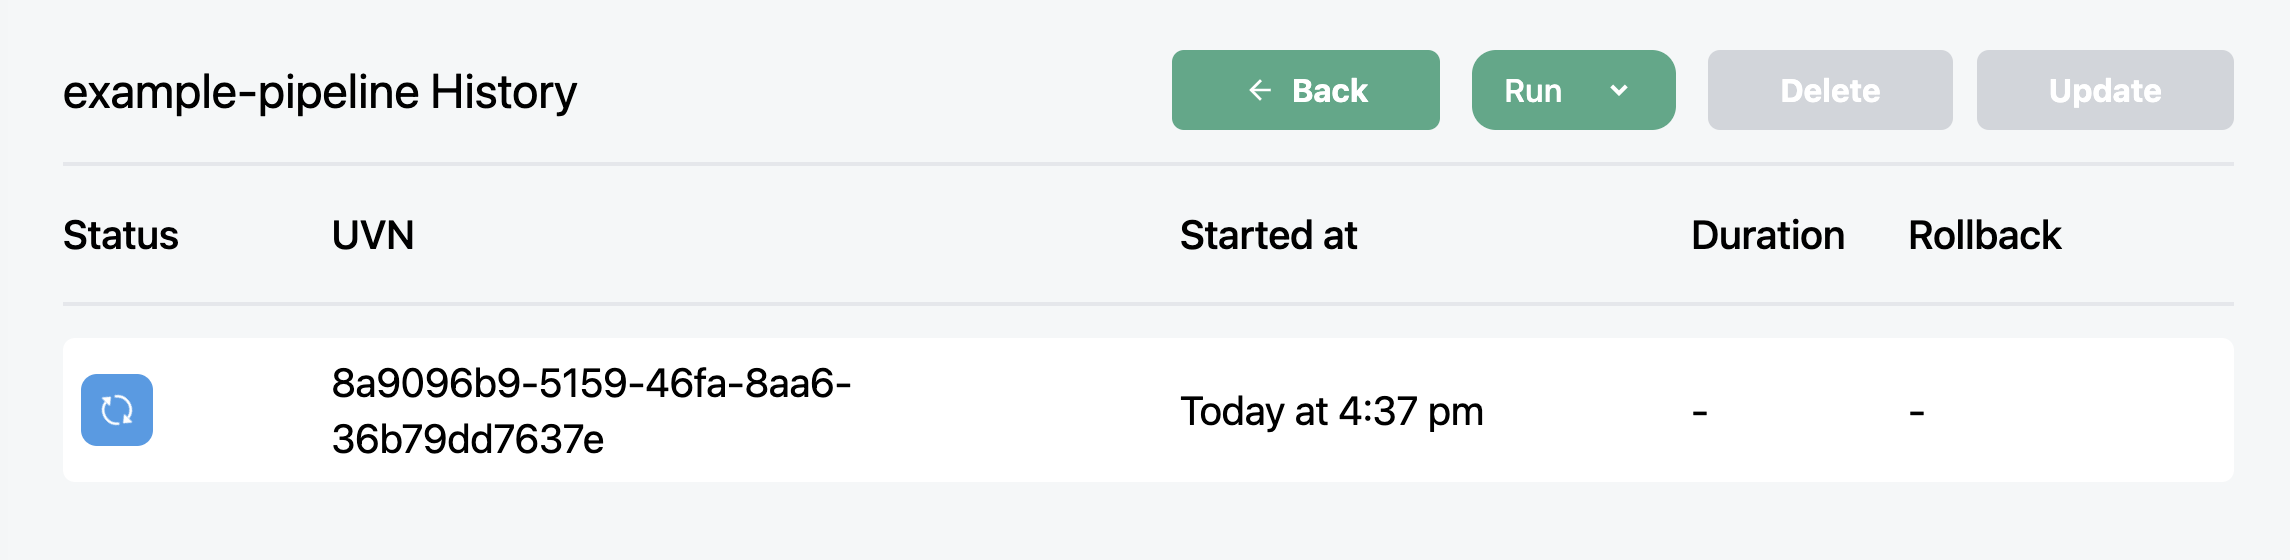
Press the run to get a view of the pipeline run. You can press specific steps to get a deeper view of the workflow.
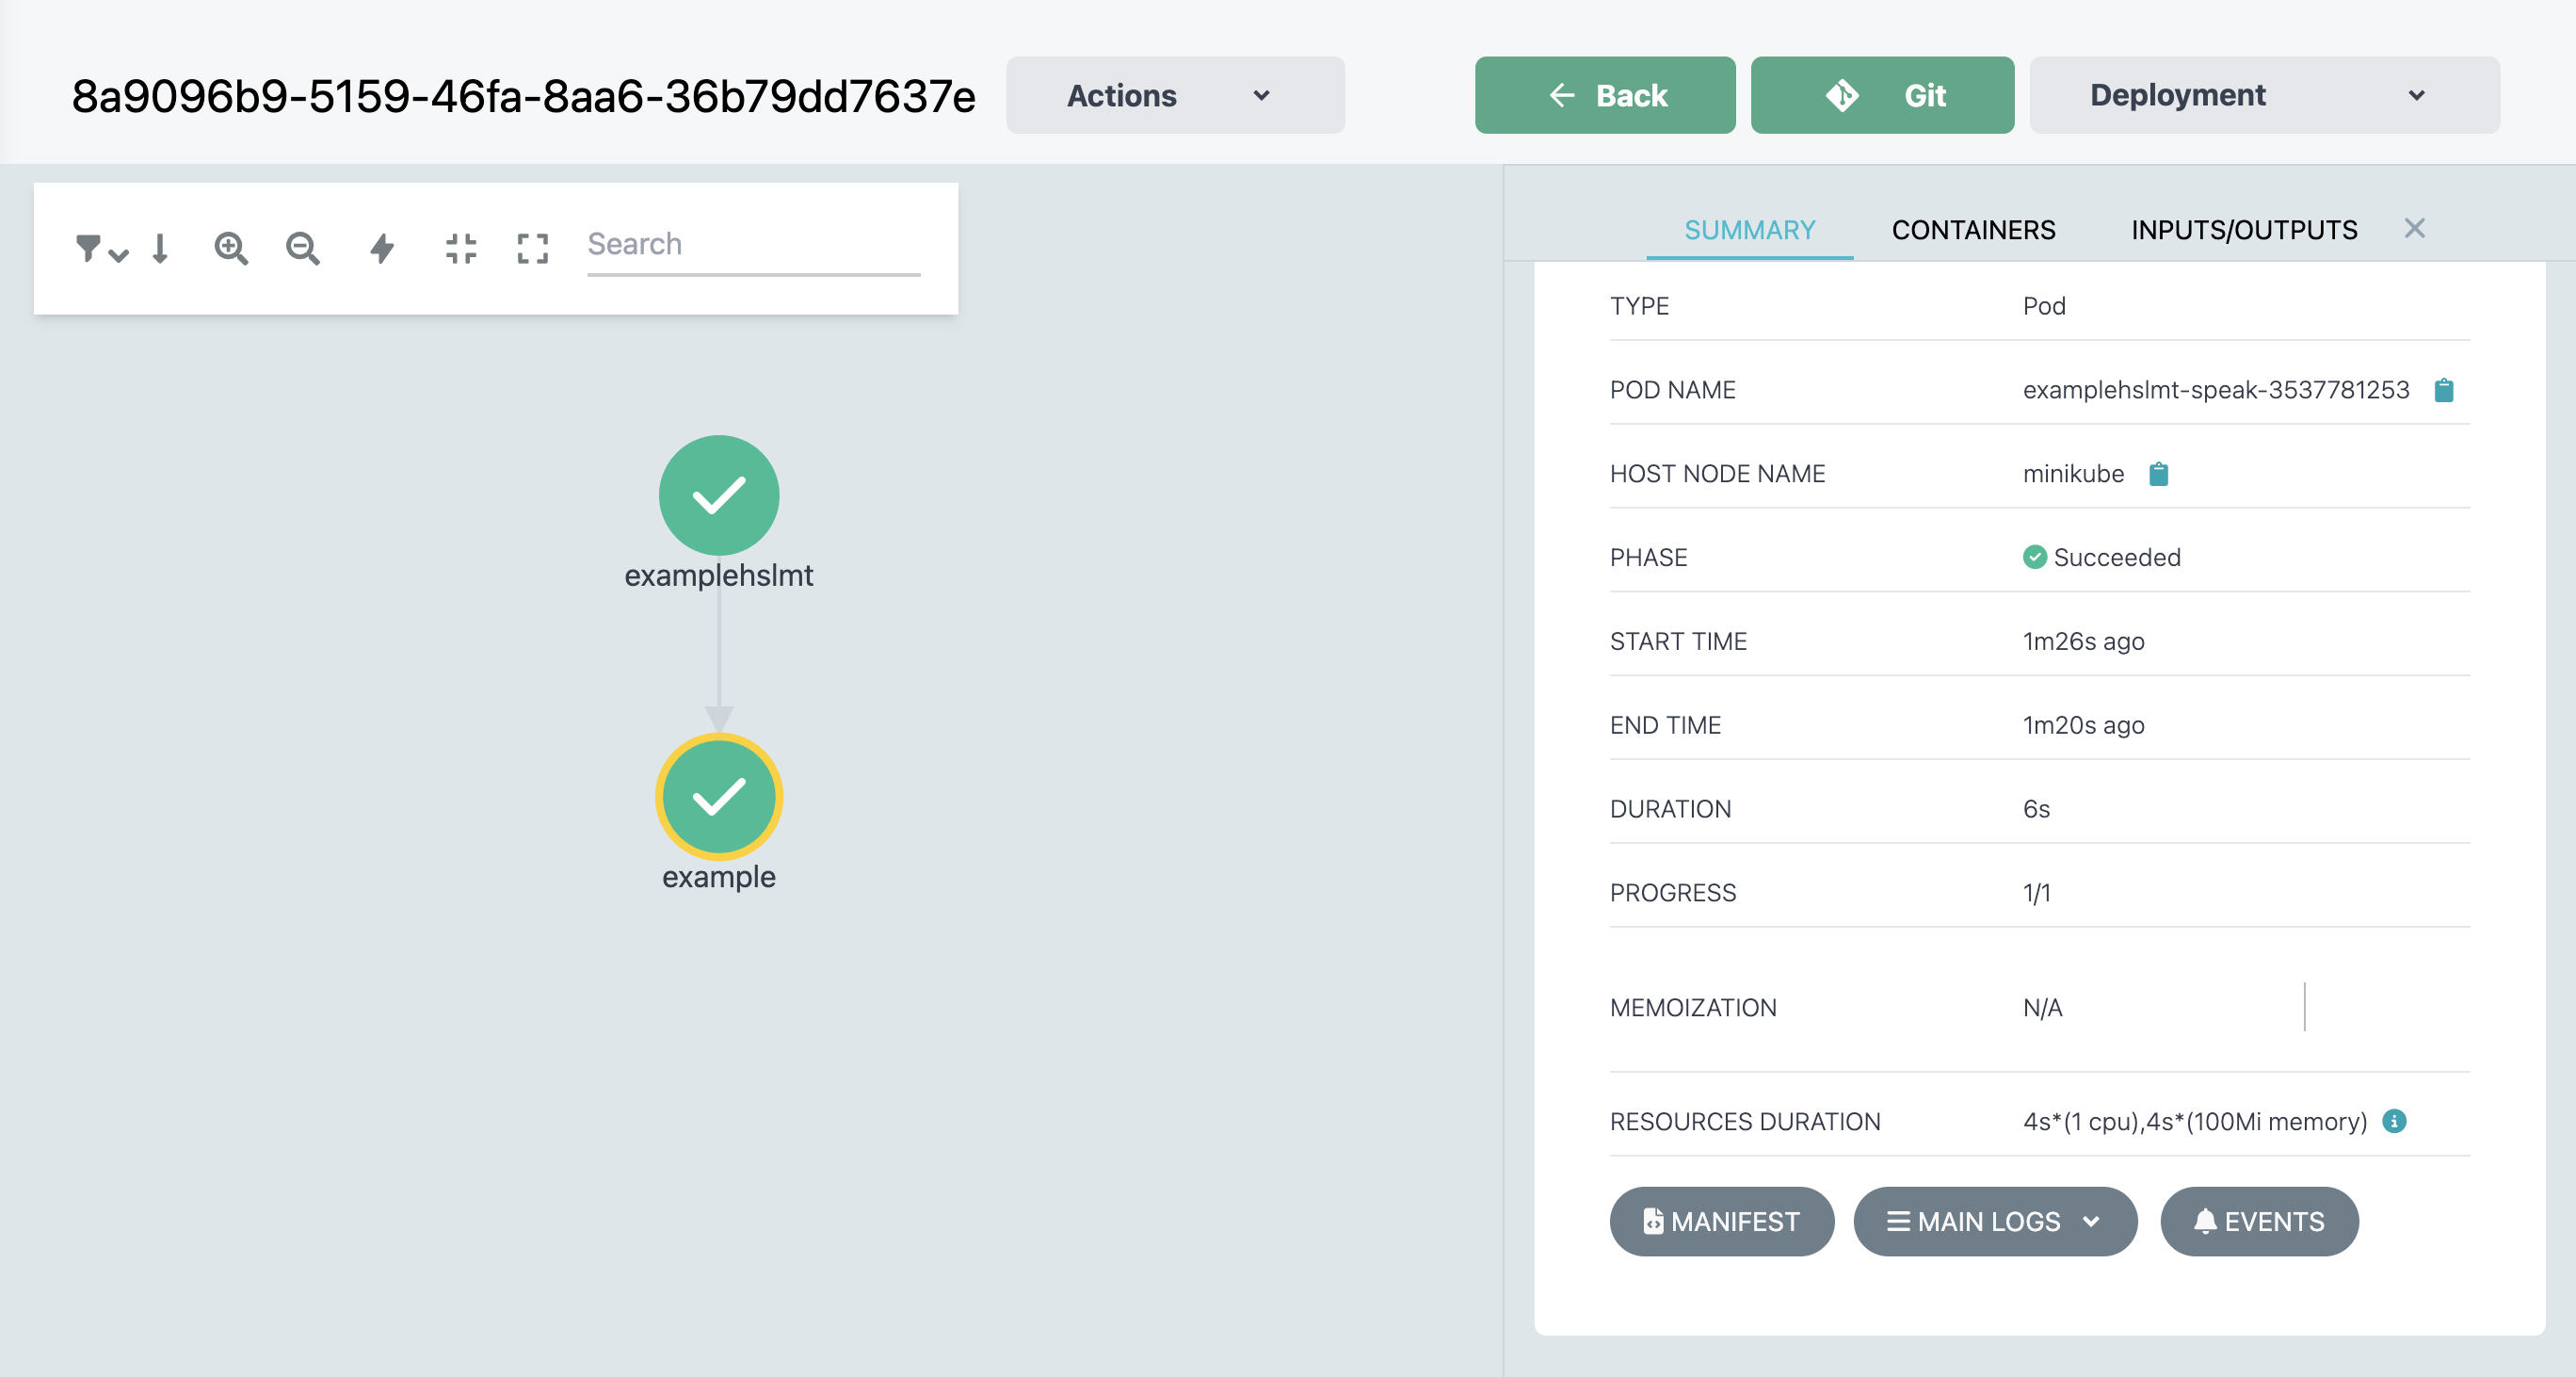
If you press the Main Logs button on the bottom right corner, you should see the output of the pipeline you ran: My first pipeline!.
What's next?
Now that GreenOps is set up, you can now build all the CI/CD pipelines you want, as well as manage deployments across environments. So what's next?